Let’s be honest, the way a lot of us outdoorsy-loving people sneak away from the busy, time-demanding, and exhausting working world is through nature. Going camping and hiking is one of the most relaxing things to do—especially if you know exactly what to pack and do. If not, read below for our camping and hiking travel tips.
Camping Tips and Hacks
Here are some must-know tips to get ready for camping and hiking that will make your life much easier!
1. First-Aid Kits
As always, safety first when it comes to doing anything outdoors. Whether you are going camping or hiking for a day or a week, it never, ever hurts to come prepared! Here are some first aid supplies that an outdoors person should never go without when hiking: band-aids of various shapes and sizes, cleansing wipes, sterile gauze of various sizes, latex-free gloves, antibiotic ointment (usually triple antibiotic ointment), emergency Mylar blankets, a bandana or type of cotton cloth, medical tape and/or medical paper tape, co-band wrap, and lip balm.
A couple of things to notice: sterile gauze is really important when traveling because it is not exposed to anything and will protect the wound with a lower risk of infection. Latex-free gloves are becoming increasingly important in the medical world as latex allergies become more prevalent. Whether you are allergic or not, if you meet someone who requires medical attention, they might have a latex allergy. Along with those, cotton bandanas or cotton cloth are important in wrapping wounds because they soak up liquids easily and they are breathable for the skin.
Here are is what my safety kit usually looks like: FYI: my tape and co-band are usually in a more accessible place—either strapped to my backpack or in the front pocket.
2. Personal Kits
Personal kits are a must on any outdoor trip. Mine personally include bobby pins and hair clips, an extra headband and hair tie, Q-tips (used for some many things), toothpaste, contact lens case, hand salve, face cream, and maybe some make-up products. A really neat case that is inexpensive and can be bought anywhere is a soap case. They are roughly 3in by 4in and anywhere from 2 - 2 1/2ins deep. For women, these are work great for other feminine products, as many of them can be bought waterproof and have a strong clip to keep the case closed.

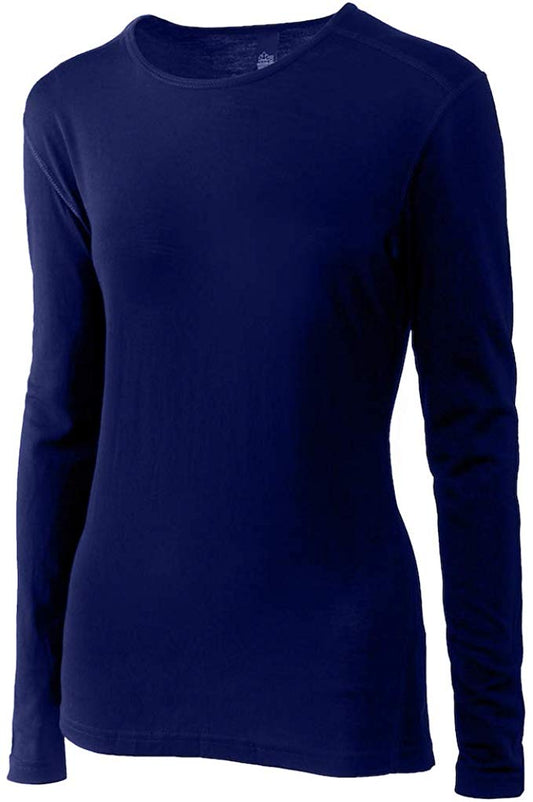
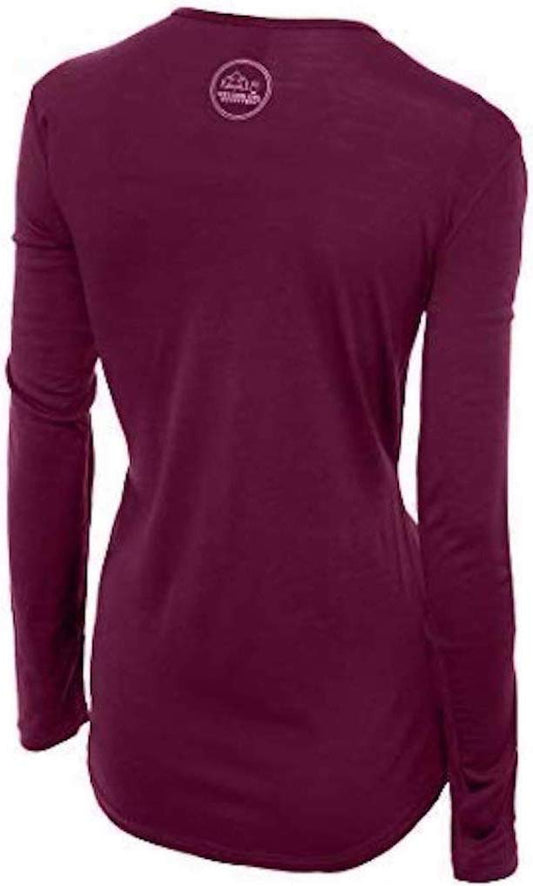
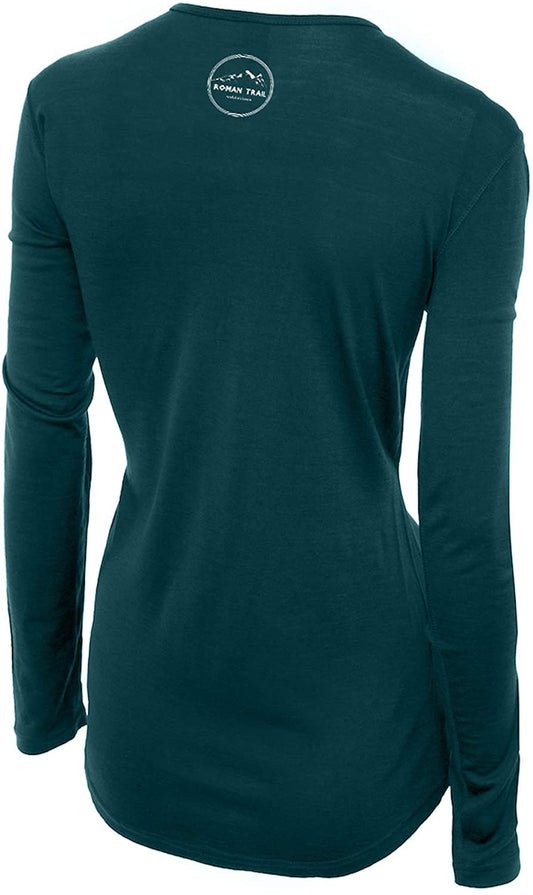
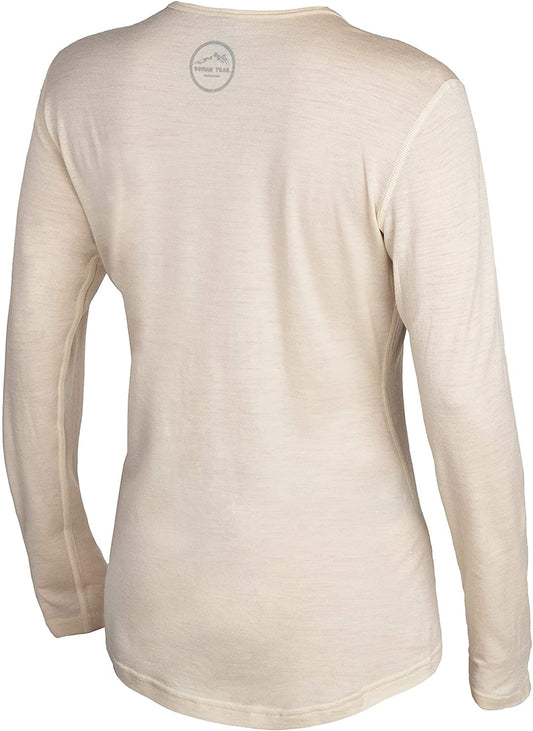
3. Merino Wool Base Layers
Merino wool base layers help to regulate your body temperature during every season. Due to the naturally curved Merino wool fibers, this allows the fabric to either work as a natural insulator to keep you warm or disperse excess heat to keep you cool, depending on the outside temperature.
The primary purpose of a base layer is to wick away moisture to keep you dry, which is essential during every season. This capability helps keep your additional layers dry during colder months, which is crucial to staying warm. When it is hot outside, minimizing moisture enables you to remain cool and decreases the potential for friction and chafing. In addition, since base layers are supposed to be a second skin, these base layers are incredibly soft due to the slender fabric profile of Merino wool.
The natural Merino fibers are also antimicrobial since they lock in bacteria and limit additional growth. Therefore, you can wear your Merino wool base layers multiple times before washing them, making them ideal for extended camping and hiking trips. Want to know more about Merino wool? Check out our Merino wool 101 article.
4. Personal Products Hack
Even though you might be camping for several days, on the rare occasion you head into a town to go get groceries, dinner, or buy some forgotten items, it’s unnecessary to bring your whole make-up ensemble. So, here a couple of neat ideas: foundation, face cream, and any other liquid products can be poured into small containers to carry with. I have the best luck using glass containers that are “sample” size, but last for several days.

This is a reused glass container from Burt’s Bee’s Intense Hydration Day Moisturizer. The moisturizer was quickly used up, but the container can be reused for other face cream, hand salve, liquid make-up foundation, aloe vera gel, sunscreen, and various other products. It is only a .25 oz. dish, but it works well for a few days of camping if you’re not a really heavy user
5. Toothpaste Hack
Like any good overnight camper or hiker, we remember the rules of hygiene and bring our toothbrushes and our toothpaste. But, did you know that there are such things as DIY toothpaste cubes? They are really simple to make, the picture below will explain with just, well, the picture!

For as many times you brush per day for the duration of your trip, make as many “droplets” of toothpaste. I usually make them the day before my drip, that way they are good and solid before I pack them in a little container. I would recommend putting them in a solid versus free-moving container as they won’t get crushed. It is always a good idea to make a few “droplets” a week or so before your trip just so you know they will harden and not stay gooey.
6. Multipurpose Multi-Tool
For any trip that you have outdoors, it is great to have a multi-purpose tool with you. Multi-purpose tools usually come standard with pair of pliers, a regular knife, a saw-like knife, bottle opener, nail file, and sometimes a small pair of scissors. A great pair to have along the trail is Gerber’s Suspension Multi-Plier. This has a number of great features that can handle most obstacles on the trail. It is to note, however, that a regular sized pocket knife is good to have for any “big” projects, as the knife on this particular tool is somewhat small.


7. Biodegradable Tape for Marking Trails
Also, a great addition on the trail is bio-degradable tape for marking trails. If you are going somewhere that you are unfamiliar with and the trails are not on the “beaten path”, marking tape does the job. You can tie this tape to virtually anything to mark your hiking of travel in-case you need to find your way back. This is also good to use at your campsite as you can get this as reflective tape as well—which makes it easy to see at night. You can even use this tape to mark specific things at your campsite!
8. Bring Your Own Tinder
Now, it is not a good idea to bring firewood to a campsite that is hundreds of miles away from your home, but certain types of tinder are. The reason why you should only purchase and/or use firewood from that area is because bringing non-indigenous species can spread invasive organisms and diseases. However, bringing some paper and cardboard with you is a good idea—especially if you arrive at your campsite and it is raining, which makes it hard to collect leaves, twigs, moss, or bark that is dry in order to start a fire. That way you can have a better chance at starting a fire when you arrive if you have some tinder already available and dry!
9. Research Poisonous/Harmful Plants In Camping Area
No matter where you are doing a campout or hike in the world, it is always, always a good idea to research plants and organisms in that specific area that could potentially be harmful.
 .
. 
10. Single Serve Coffee Pods
Java, Java, Java! Who else needs a great cup of coffee in the morning? Most hikers who are camping out for an extended period of time enjoy a good cup of coffee—but did you know a really easy way to bring your own home-made coffee pods? Not only are they easy to make, but they are also bio-degradable!
You will need regular coffee filters, a ¼ measuring cup, floss, and coffee grounds. Depending on how you pack your coffee filters, use one or use two together. If you prefer a medium strength of coffee, do just under 1/8 of a cup of coffee grounds; if you prefer a strong cup of coffee, do about 1/8 - 1/4 of a cup of coffee grounds. Pour your preferred amount of coffee grounds in the coffee filter(s) and pull the edges of the filter(s) together. Once there, cut about two feet of floss off and using the middle of the floss, tie the filters together—make sure to tie tight so it doesn’t come off! With the remaining floss, tie a knot at the end so you can easily put in and remove the pod.

11. DIY Washing Machine
Of course, if you are hiking for quite a while, it’s pretty nice to make your own “washer” to clean your clothes. You can do it right on the campsite with some water and environmentally-friendly soap. You will need a five-gallon bucket with a lid, a brand-new toilet-style plunger, and your choice of environmentally-friendly soap--Dr. Bronner's Unscented Castile Soap is really nice for washing clothes, and maybe an essential oil or two.
First, to find your bucket, try local hardware stores or a place where they use those buckets and see how cheap you can get one. Second, with the lid of the bucket, cut a circle hole in the middle that will accommodate the size of the plunger handle. Third, with the plunger, cut about 5-6 holes in the circumference of the rubber—be careful as this industrial grade rubber is hard to cut through and your blade can slip easily!
Now, since you have the unit ready for use, fill the bucket about 1/4 – 1/2 way full of hot water and add your soap. Use the amount of soap at your discretion—I recommend starting light and then adding as you need it. Then, add your clothes and plunge away! The amount of time elapsed to wash a load of clothes depends on what you are washing—as some things will take longer to wash than others. After washing thoroughly, add some more water and rinse the clothes, hang them up to dry, and viola—all done!
The Bottom Line
Camping and hiking are great ways to escape the stresses of working life, but not being prepared for your next adventure can also cause additional stress. So remember to try some of our tips and hacks on your next hiking or camping outing to help make it a little more enjoyable.
